Self Hosted Journey
Discovering the world of home labs and self-hosting has been an essential part of my tech journey. In this blog, I'll take you through my personal timeline and experiences, starting from my earliest ventures into self-hosting. Follow along as I share insights and tips on how to create your own successful home lab setup.
2012-2014
Before I even knew about the world of self-hosting and home lab enthusiast, I first delved into the world of media servers. At the time, I opted for Kodi (then known as XBMC) on a Raspberry Pi 3, streaming media from a Samba share on my desktop. Although the setup was slow, it sufficed for my needs. For future reference, the desktop specs were:
- i7 3770k
- GTX 670
- 8GB DDR3
2014-2018
In 2014, I discovered Plex and installed it on my desktop, running it as a service. This setup satisfied me for several years, during which I would legally download movies and TV shows and add them to my Plex directories. I even purchased the Android app, preferring the experience over that of Netflix. While I still use Plex today, its ongoing changes make me doubt my long term use.
2018-2023
In 2018, I upgraded my desktop to better suit my needs as a professional software engineer and frequent user of VMs. My new setup included a Ryzen 3900x, RTX 2070 (Super), and 32GB DDR4. With my old PC no longer in use, I repurposed it into a dedicated server by installing Ubuntu server and pulling some Docker images for the apps I needed. Some of the services I was running on it include Plex, Radarr, Sonarr, NZBGet, Pi-Hole, Bookstack, a Discord bot, a Bedrock Minecraft server, and a custom landing page I developed myself.
2023
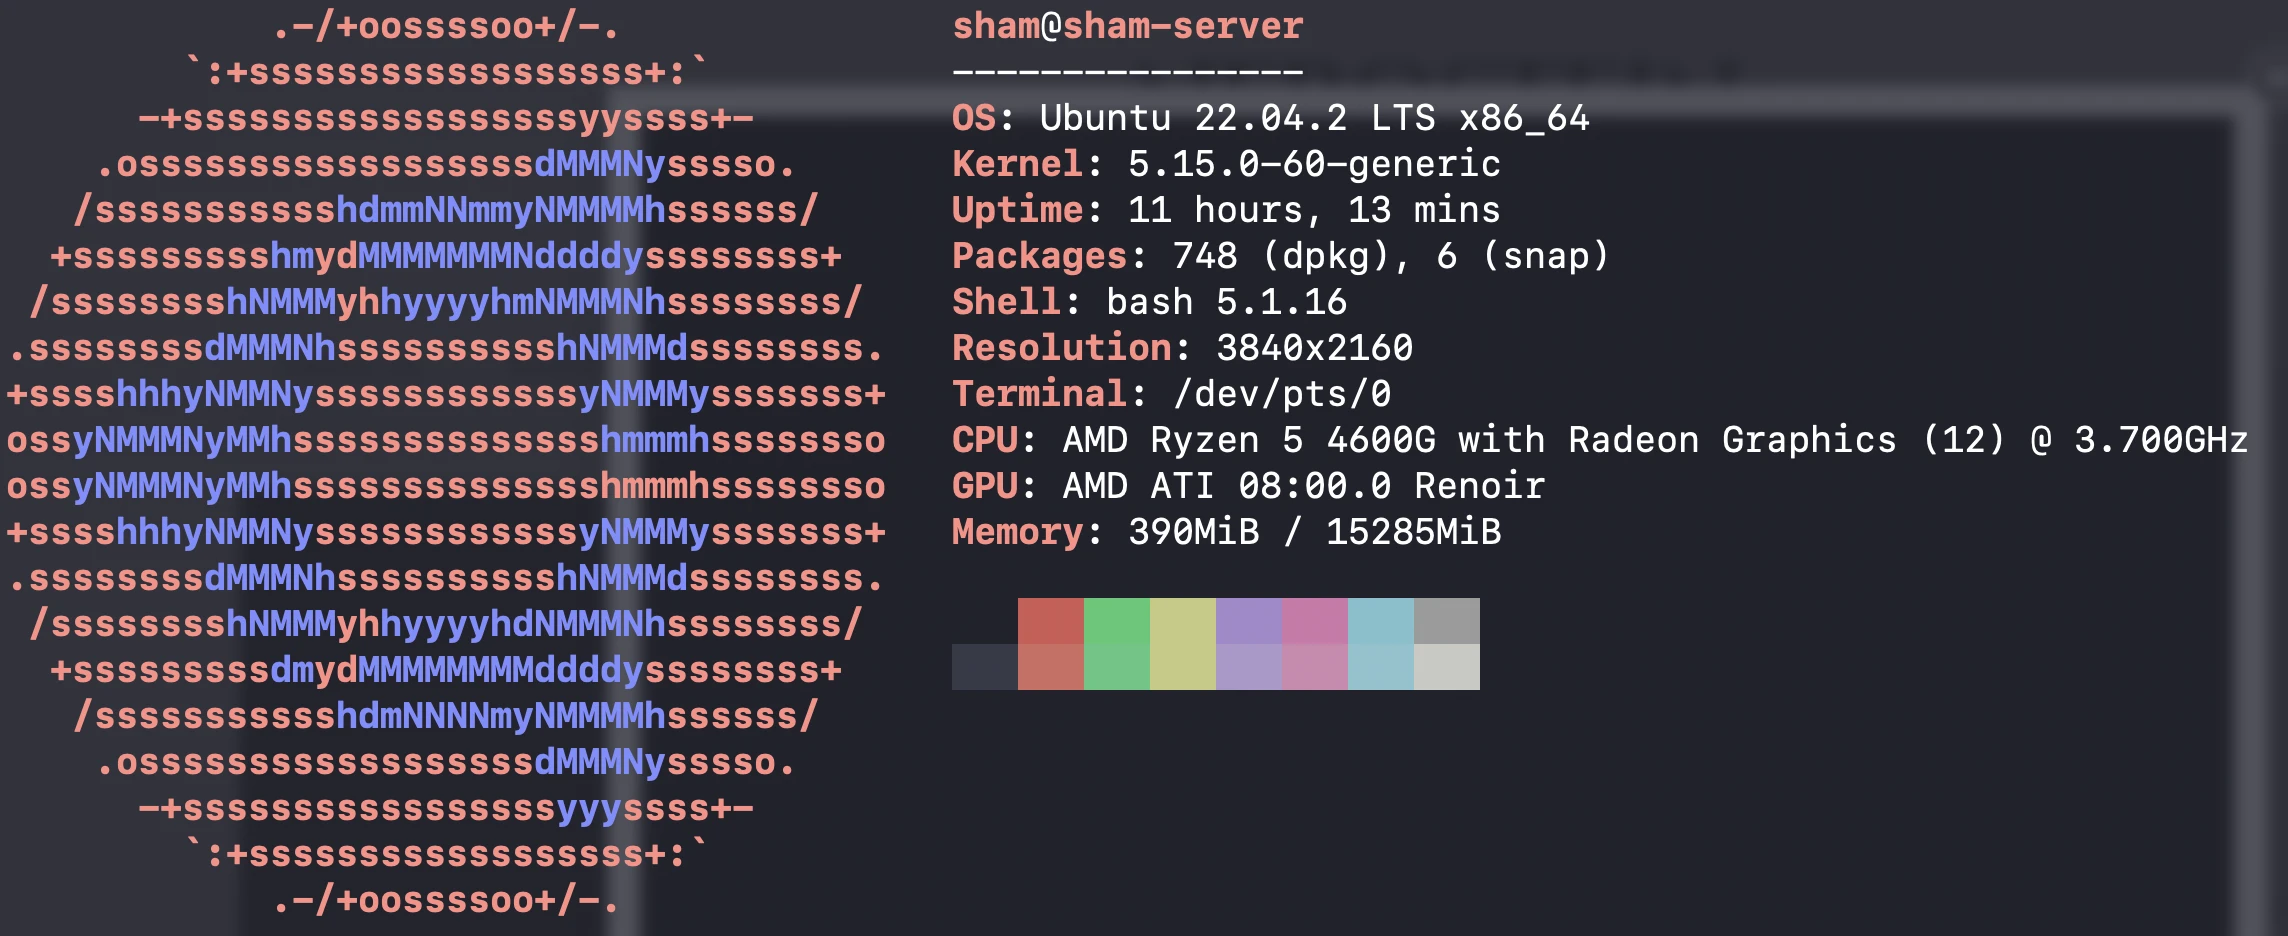
Where we are now. The start of this blog. A fresh install of ubuntu server on some newer hardware I managed to get for cheap.
.-/+oossssoo+/-.`:+ssssssssssssssssss+:`-+ssssssssssssssssssyyssss+-.ossssssssssssssssssdMMMNysssso. sham@sham-server/ssssssssssshdmmNNmmyNMMMMhssssss/ ----------------+ssssssssshmydMMMMMMMNddddyssssssss+ OS: Ubuntu 22.04.2 LTS x86_64/sssssssshNMMMyhhyyyyhmNMMMNhssssssss/ Kernel: 5.15.0-60-generic.ssssssssdMMMNhsssssssssshNMMMdssssssss. Uptime: 11 hours, 23 mins+sssshhhyNMMNyssssssssssssyNMMMysssssss+ Packages: 748 (dpkg), 6 (snap)ossyNMMMNyMMhsssssssssssssshmmmhssssssso Shell: bash 5.1.16ossyNMMMNyMMhsssssssssssssshmmmhssssssso Resolution: 3840x2160+sssshhhyNMMNyssssssssssssyNMMMysssssss+ Terminal: /dev/pts/0.ssssssssdMMMNhsssssssssshNMMMdssssssss. CPU: AMD Ryzen 5 4600G with Radeon Graphics (12) @ 3.700GHz/sssssssshNMMMyhhyyyyhdNMMMNhssssssss/ GPU: AMD ATI 08:00.0 Renoir+sssssssssdmydMMMMMMMMddddyssssssss+ Memory: 392MiB / 15285MiB/ssssssssssshdmNNNNmyNMMMMhssssss/.ossssssssssssssssssdMMMNysssso.-+sssssssssssssssssyyyssss+-`:+ssssssssssssssssss+:`.-/+oossssoo+/-.
Next Step: Enhancing Privacy, Security and Speed with Pi-Hole
With the initial history outlined, I'm excited to share the plans for the next post in the series: deploying Pi-hole. We'll be using this network-wide ad-blocker not only to enhance our privacy and security but also as a local DNS server, improving our network's speed and reliability. I hope that by sharing my personal experiences, I can inspire others to embark on their own self-hosting journeys. Thank you for following along, and I can't wait to see where this journey takes us in the future.

